Tips for Setting Up Your Printer Easily
Looking for a hassle-free way to set up your printer? Our user manuals provide step-by-step guidance for various printer models, including Canon, Epson, and HP. Say goodbye to frustrating technology issues with our easy-to-follow instructions. Let us help you make the printer setup process smooth and straightforward.
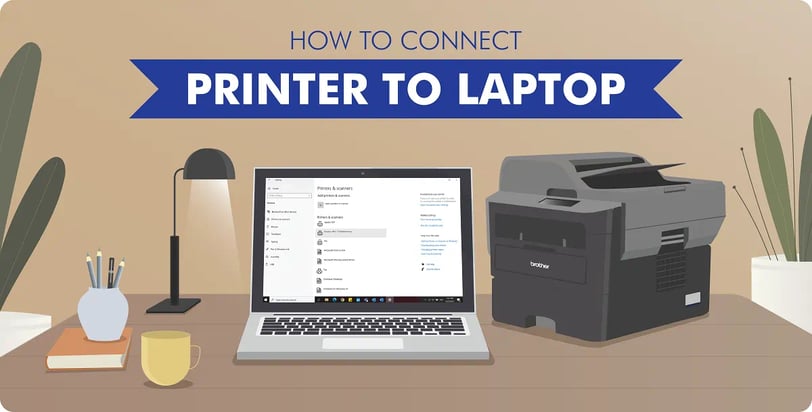

Setting up your Epson printer for wireless use allows you to print from multiple devices without the need for physical connections. Follow this step-by-step guide to configure your Epson printer for wireless printing.
Step 1: Unbox and Prepare the Printer
Unbox the Printer:Remove the printer from its packaging and take off all protective materials.Power Up the Printer:Plug the printer into a power outlet using the provided power cord.Press the power button to turn on the printer.Install Ink Cartridges and Load Paper:Open the printer cover and install the ink cartridges as per the instructions.Load paper into the paper tray.
Step 2: Connect the Printer to Wi-Fi
Access Printer's Control Panel:On the printer’s control panel, locate and press the Home button.
Navigate to Wi-Fi Setup:Use the arrow buttons to navigate to Setup and select it.
Choose Network Settings or Wi-Fi Setup depending on your printer model.
Select Wi-Fi Setup Wizard:Choose Wi-Fi Setup Wizard from the list of options.The printer will search for available Wi-Fi networks.Choose Your Wi-Fi Network
Select your Wi-Fi network from the list of detected networks.If your network is not listed, ensure your router is broadcasting the network SSID and the printer is within range.
Enter Wi-Fi Password:Use the printer’s control panel to enter your Wi-Fi network password. The method to input characters may vary by model.
Confirm the password and wait for the printer to connect to the network.
Connection Confirmation:Once connected, the printer will display a confirmation message.You can print a network status sheet to confirm the connection details.
Step 3: Install Printer Software on Your Computer
Download Epson Printer Software:
Visit the official Epson website. Navigate to the Support section and search for your specific printer model.
Download the latest printer software and drivers compatible with your operating system.
Run the Installer:Open the downloaded installer file and follow the on-screen instructions.
When prompted, select Wireless as the connection type.
Follow Setup Prompts: The setup wizard will search for the printer on your wireless network.Select your printer from the list and complete the installation process.
Print Test Page: After installation, print a test page to ensure everything is set up correctly.
Step 4: Mobile Device Setup
Download Epson iPrint App:For mobile printing, download the Epson iPrint app from the App Store (iOS) or Google Play Store (Android).Connect to Printer:Open the Epson iPrint app and follow the on-screen instructions to connect to your wireless network and printer.Print from Mobile:Use the app to print documents and photos directly from your mobile device.
Troubleshooting Tips
Ensure Correct Network:Verify that both your printer and device are connected to the same Wi-Fi network.
Restart Devices:Restart your printer, router, and computer/mobile device if the printer is not detected during setup.
Check Signal Strength:Ensure your printer is within range of your Wi-Fi router and there are no significant obstructions.
Re-enter Wi-Fi Credentials:Double-check the Wi-Fi network name and password for accuracy.
For further assistance, consult the user manual provided with your printer or contact printer manual solutions team. Enjoy wireless printing with your Epson printer!
If you are still experiencing difficulties, please contact the Printer Manual Solutions Store Team at +1-(937) 759-8286
Epson Printer Wireless Setup Manual






About
Passionate team providing comprehensive manuals for smooth printer setup.
Contact
Help
service@printermanualsolutions.com
+1-(937) 759-8286
© 2024. All rights reserved.
Disclaimer
This website is operated by TechnoCube, an independent company that provides software and related services. We are not affiliated with, endorsed by, or in any way connected to any brand or manufacturer. The images and logos used on this site are solely for reference purposes. The services we offer are also available through the respective manufacturers.
